Ultimate Guide to Garage Door Spring Repair: Save Time & Money
Garage door springs are pivotal for the seamless functioning of a garage door, playing a key role in balancing the door’s weight. The need for garage door spring repair arises to ensure the door operates smoothly and safely, underscoring the importance of timely maintenance.
This guide offers a comprehensive approach to garage door spring replacement, covering the identification of spring types, necessary tools and safety precautions, and a detailed step-by-step repair process. It aims to equip homeowners with the knowledge to save time and money on garage door spring repairs.
Identifying the Type of Garage Door Spring
Types of Garage Door Springs
There are primarily two types of garage door springs utilized in residential garage doors: torsion springs and extension springs.
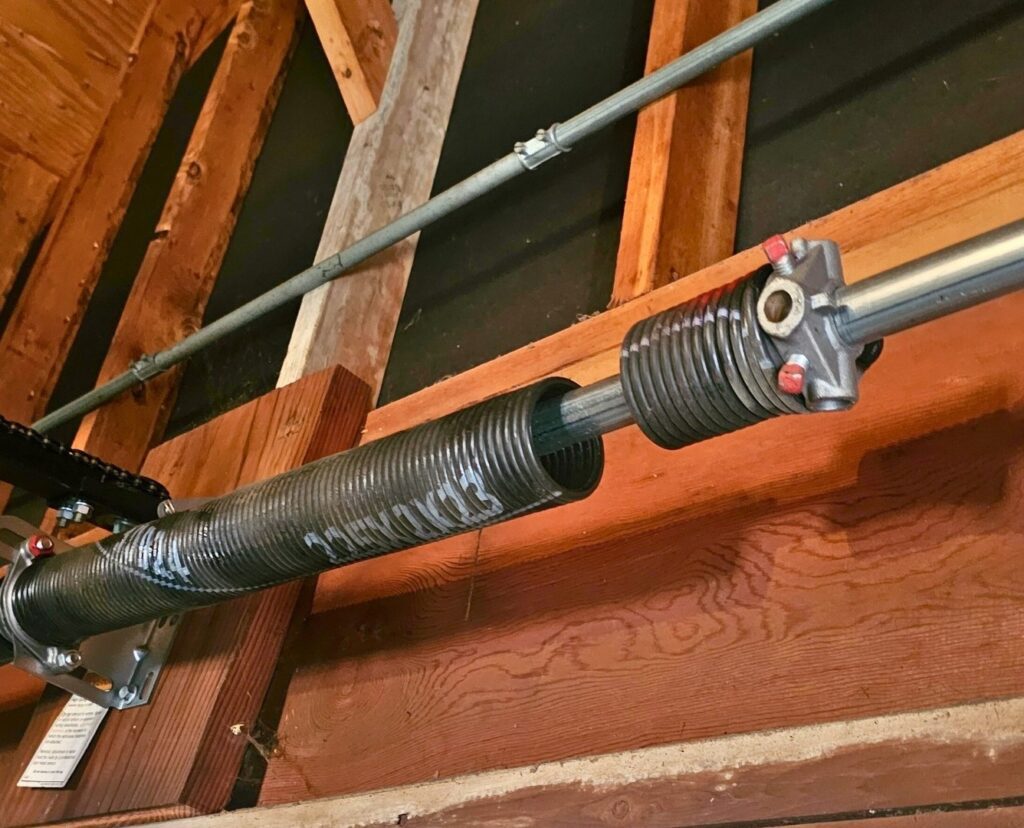
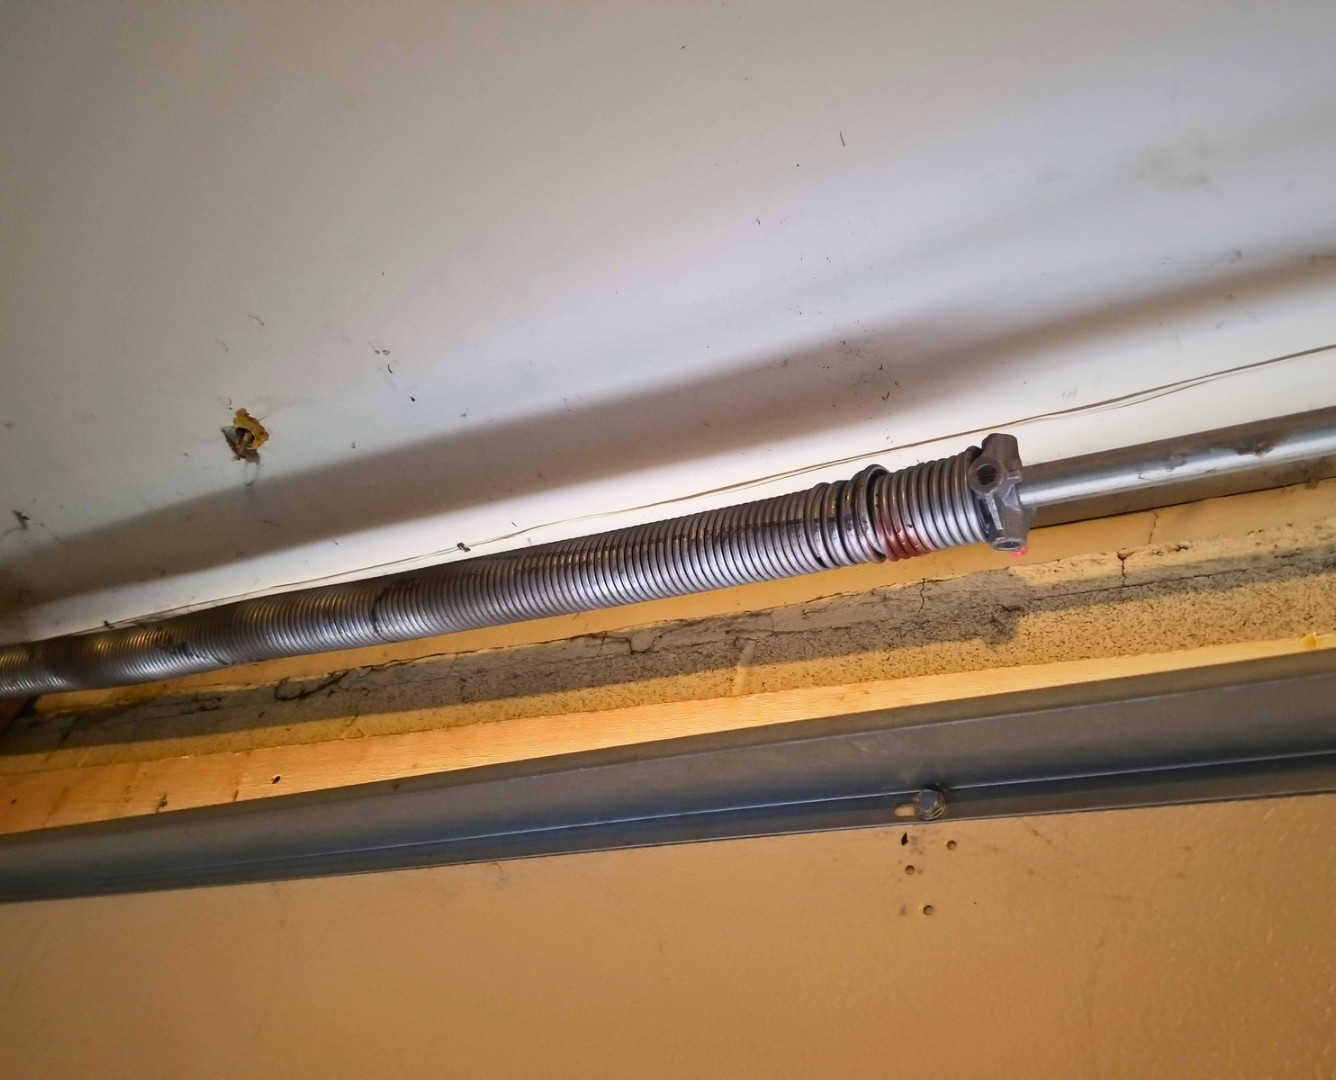
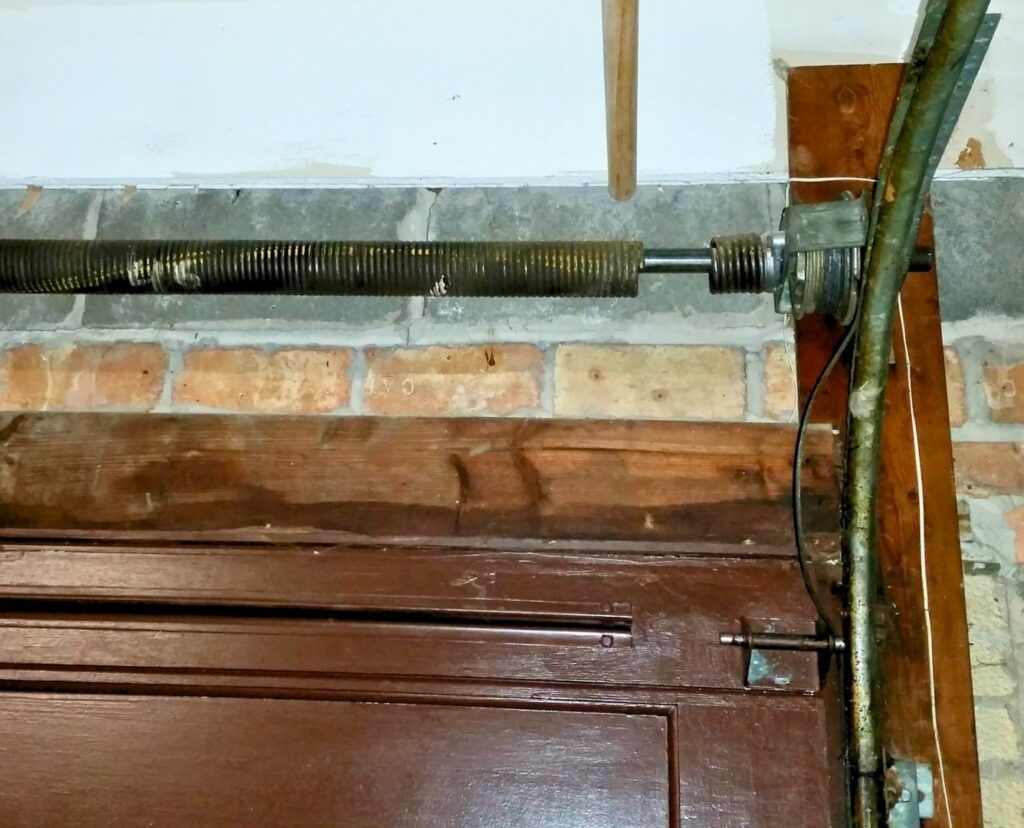
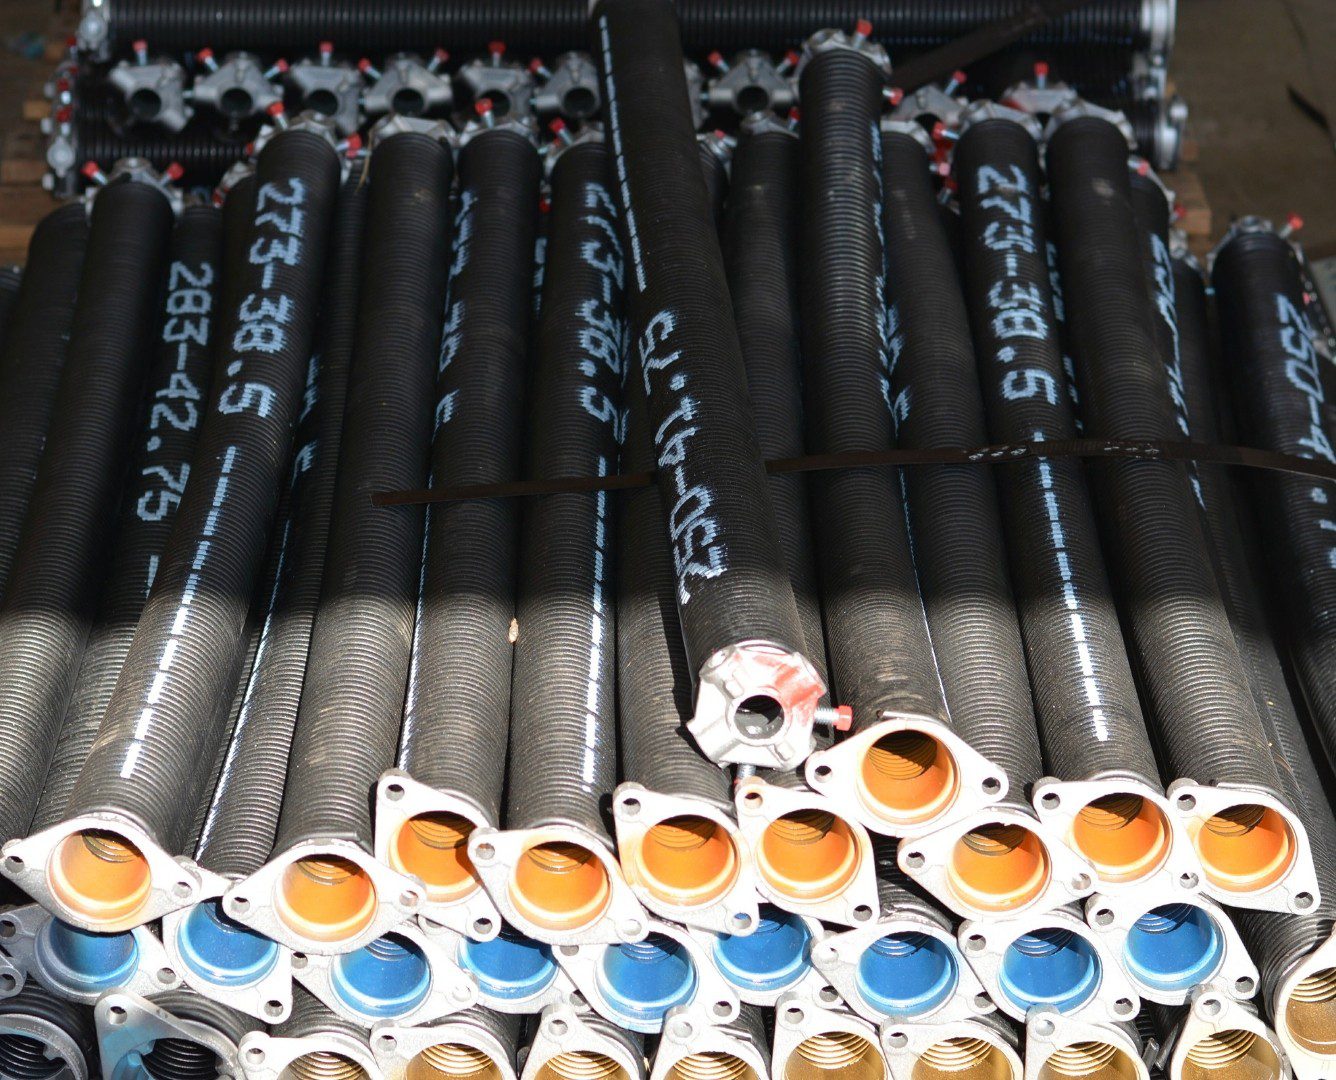
- Torsion Springs: Positioned above the garage door opening, these springs operate on the principle of torque. They are typically made from robust materials like beryllium copper, titanium, or carbon and stainless steel. Each torsion spring is mounted on a bar and is visible when the garage door is closed. The springs store energy by coiling and uncoiling as the door moves. Torsion springs are known for their efficiency and longer lifespan, supporting up to 20,000 cycles.
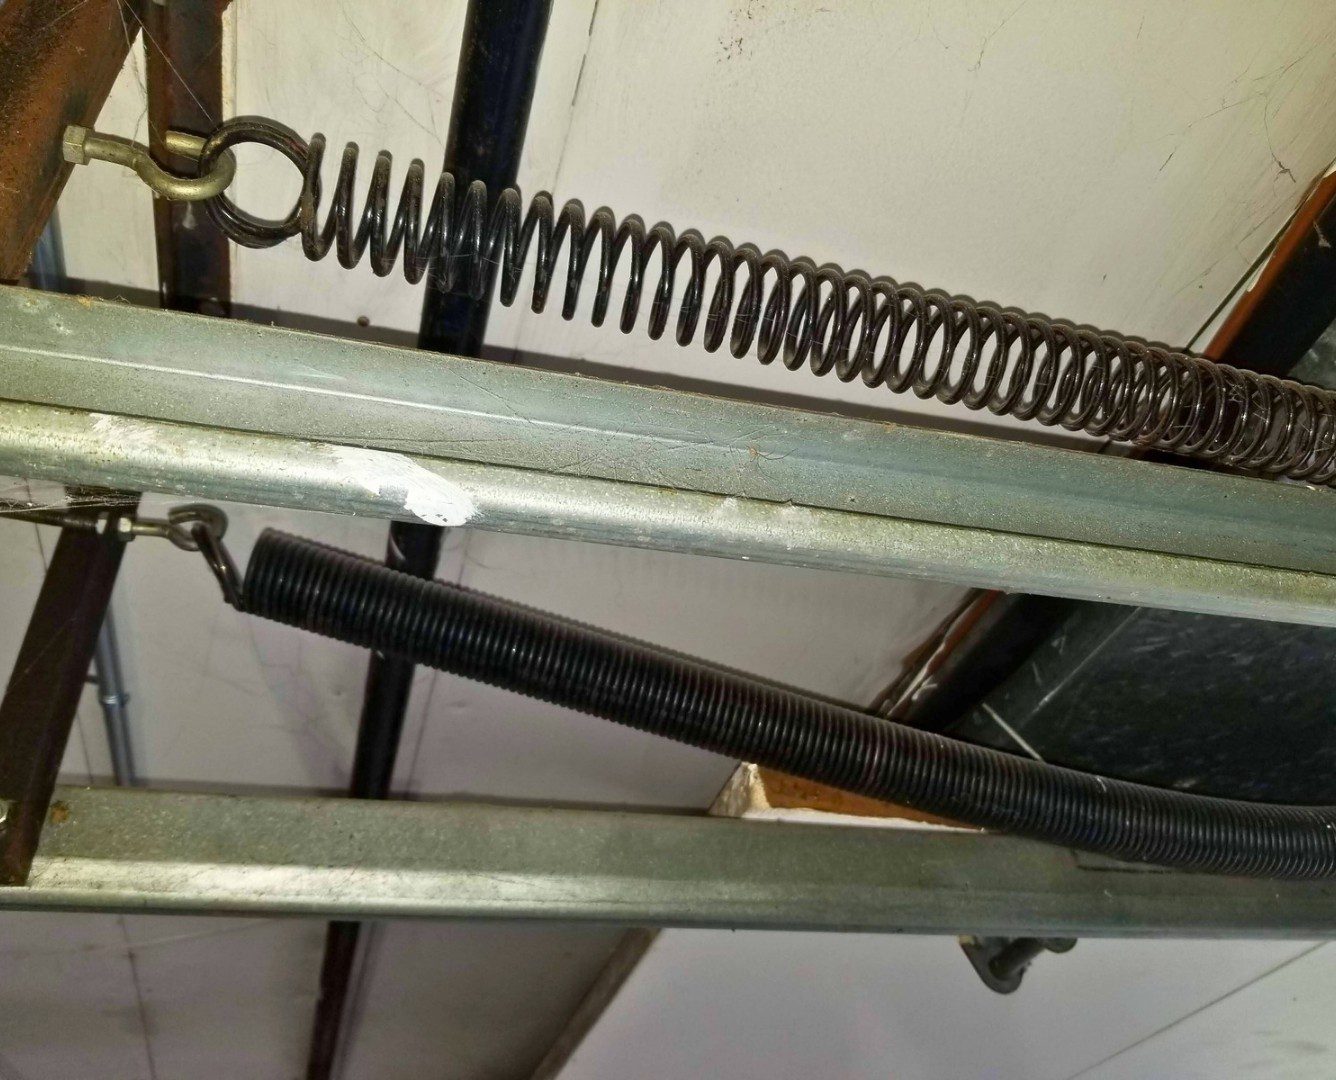
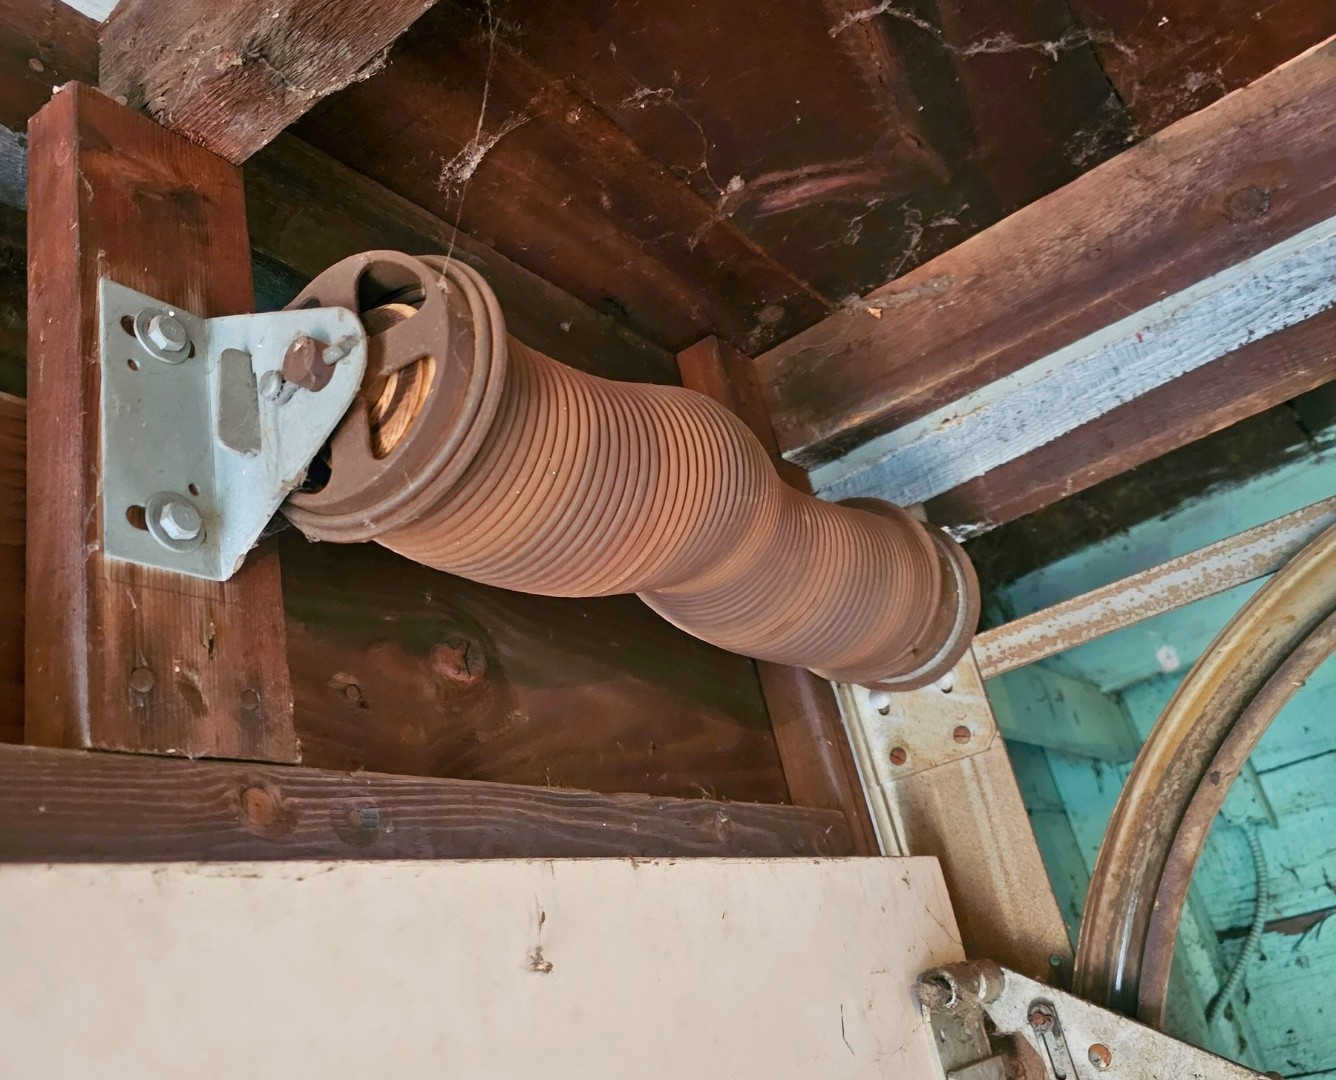
- Extension Springs: These are located along the tracks on both sides of the garage door and work by extending and contracting as the door operates. Extension springs are generally lighter and help in lifting the door by stretching and contracting. Each side of the door has its own spring, which helps in balanced lifting. Typically, these springs are ideal for lighter doors and have a lifespan of about 10,000 cycles.
How to Identify Your Garage Door Spring Type
- Visual Inspection: Check if the spring is mounted horizontally above the door (torsion) or along the tracks on the sides (extension).
- Operation Mechanism: Observe if the spring extends when the door closes (extension) or coils around a shaft (torsion).
- Color Coding: Torsion springs feature a color-coding system that indicates wind direction and wire gauge, aiding in identification. Extension springs are marked by the weight they can handle.
Measuring Your Springs
To ensure you select the correct replacement, it’s crucial to measure your current springs:
- Torsion Springs: Measure the wire diameter, inside diameter, and the total length of the spring.
- Extension Springs: Measure the total length of the spring and check the door weight they are designed to lift.
Understanding these aspects will help you identify the right type of spring for your garage door, ensuring a smooth and safe operation.
Tools and Safety Measures
Essential Tools for Garage Door Spring Repair
To effectively handle garage door spring repair, having the right tools is crucial. The list below outlines the necessary equipment:
- Power Drill and Impact Driver: Essential for driving screws and managing heavy-duty tasks.
- Winding Bars: Specifically 18 inches for standard garages and 10-12 inches for garages with low headroom.
- Locking Pliers and Clamps: Vital for securing the door during repairs.
- Wrenches and Socket Sets: Various sizes (7/16, 9/16, 1/2, and 3/8) are required for different components.
- Hammer and Mallet: Useful for adjusting and fitting parts.
- Measuring Tools: Tape measure and garage door spring measure to ensure accurate installation.
- Safety Glasses and Gloves: To protect against injuries from metal parts and lubricants.
- Light Source: For clear visibility in dark areas.
- Ladders: Two of varying heights to access different parts of the garage door.
Safety Measures
Prioritizing safety is essential during garage door spring repairs due to the high tension involved. Adhere to the following safety protocols:
- Disconnect Power: Ensure the garage door opener is unplugged and, if applicable, disconnect the arm if there’s a battery backup.
- Secure the Door: Use a clamp on the track above the rollers to prevent the door from moving.
- Personal Protective Equipment: Always wear safety glasses and sturdy gloves.
- Proper Handling of Tools: Use winding bars correctly for tensioning springs; never substitute with screwdrivers or pliers.
- Stable Work Environment: Position ladders securely and use saw horses for supporting doors during setup.
- Lockdown Procedures: Keep the garage door in the lowered position when adjusting or replacing springs.
By following these guidelines and using the appropriate tools, you can ensure a safer and more effective garage door spring repair process.
Step-by-Step Guide to Replacing Garage Door Springs
Finding the Right Springs
Before beginning the replacement process, ensure you have the correct type of springs for your garage door. Measure the old springs and consult the manufacturer’s specifications to purchase the exact replacements. This ensures compatibility and prevents future malfunctions.
Safety Measures
- Disconnect the Power: Unplug the garage door opener to eliminate any risk of accidental activation.
- Secure the Door: Use clamps or locking pliers on the tracks above the rollers to prevent the door from moving during repairs.
- Wear Protective Gear: Always use safety glasses and gloves to protect against injuries.
Removing Old Springs
- Disengage the Motor: Detach the garage door from the motor carriage and ensure the motor is unplugged.
- Support the Door: Position 2x4s under the door to securely support it while you work.
- Relieve Tension: Use winding bars to carefully unwind the springs, releasing tension before removal.
Installing New Springs
- Attach New Springs: Secure the new springs in place, ensuring they are correctly aligned with the garage door system.
- Set Initial Tension: Use winding bars to slightly tension the springs.
- Check Door Balance: Lift the door slightly to gauge balance and adjust the spring tension as necessary.
- Final Adjustments: Wind the left spring as specified (31 times for a seven-foot door), and tighten the set screws on the winding cone. Repeat for the right spring.
Testing the Installation
Once both springs are installed, slowly test the garage door operation, making minor adjustments to spring tension if the door does not open smoothly or evenly. This final step is crucial to ensure the safety and functionality of the garage door.
Maintenance Tips Post-Repair
Regular Inspection and Lubrication
- Monthly Visual Inspection: Check for signs of wear or damage on springs, cables, rollers, and hinges. Look for frayed cables, broken springs, or loose hardware.
- Lubrication Schedule: Apply white lithium or silicone-based spray to the springs, hinges, and rollers every six months to ensure smooth operation and prevent rust.
Balance Testing and Adjustment
- Biannual Balance Test: Disconnect the door from the opener and manually lift it halfway. If it doesn’t stay put, the springs need adjustment.
- Professional Adjustment: If the balance test indicates a problem, consider hiring a professional to adjust the tension safely.
Comprehensive Annual Maintenance
- Annual Professional Inspection: Have a professional inspect the garage door annually. This includes checking the door’s alignment, the integrity of the springs and hardware, and ensuring the opener functions correctly.
- Replace Worn Parts: Based on the inspection, replace any worn or broken parts such as rollers, cables, or springs to prevent future malfunctions and safety hazards.
Safety Checks
- Reversal Feature Test: Place an object like a piece of wood on the ground in the door’s path. The door should reverse after hitting the object. If not, immediate repair is needed.
- Photo Sensor Test: Ensure the photo sensors at the base of the door frame are aligned and unobstructed. The door should reverse if an object passes through the beam.
Cleaning and Tightening
- Clean Tracks: Remove debris from the tracks with a rag and mild cleaner to ensure smooth operation.
- Tighten Hardware: Annually tighten all bolts, nuts, and screws to prevent the door from becoming noisy or shaking during operation.
By adhering to these maintenance tips, homeowners can significantly extend the lifespan of their garage door springs and enhance the overall safety and functionality of their garage door system. Regular maintenance not only saves on costly repairs but also ensures the garage door operates reliably year-round.
Conclusion
Through this guide, we’ve traversed the complex terrain of garage door spring repair, from identifying the correct spring type for your door to the detailed steps necessary for safe replacement. The insights provided aim to empower homeowners with the knowledge to tackle spring repairs independently, potentially saving time and money. Remember, understanding the specific requirements of your garage door system and following the prescribed safety measures are paramount to ensure the longevity of your door and prevent future malfunctions.
As we conclude, it’s important to highlight the significance of regular maintenance and the role it plays in preserving the optimal functionality of your garage door. Conducting regular inspections, lubricating moving parts, and promptly addressing signs of wear can significantly reduce the risk of unexpected failures. For those unaccustomed to DIY garage repair tasks, or when in doubt, seeking professional assistance is advisable to ensure repairs are carried out safely and effectively. Ultimately, the well-being of your garage door hinges on the attention and care it receives, guaranteeing its reliable operation and extending its service life.
FAQs
1. How much time is required to replace a garage door spring?
Replacing a garage door spring typically requires about 30 minutes to 1 hour. The lifespan of new garage door springs ranges from 7 to 14 years, or approximately 10,000 to 20,000 cycles of opening and closing the door. It is crucial to engage a professional for this task due to the potential dangers involved in changing garage door springs.
2. What is the cost range for replacing garage door coil springs?
The cost to replace coil springs on a garage door generally falls between $150 and $350 for a single door. This price can increase up to $500 if multiple springs or additional repairs are needed. It is recommended to replace both springs simultaneously when one fails, to ensure the garage door remains balanced.
3. Is it advisable to replace both garage door springs simultaneously?
Yes, it is advisable to replace both garage door springs at the same time to maintain the balance of the door. Failing to do so can lead to an improperly balanced door, which might cause further damage to the garage door or pose a risk of serious injury.
4. Is it possible to replace garage door springs by oneself?
While it is not impossible to replace garage door springs yourself, it does require specific knowledge and understanding of how the springs and the garage door mechanism work. If you are not confident in your understanding, it is better to seek professional assistance.